

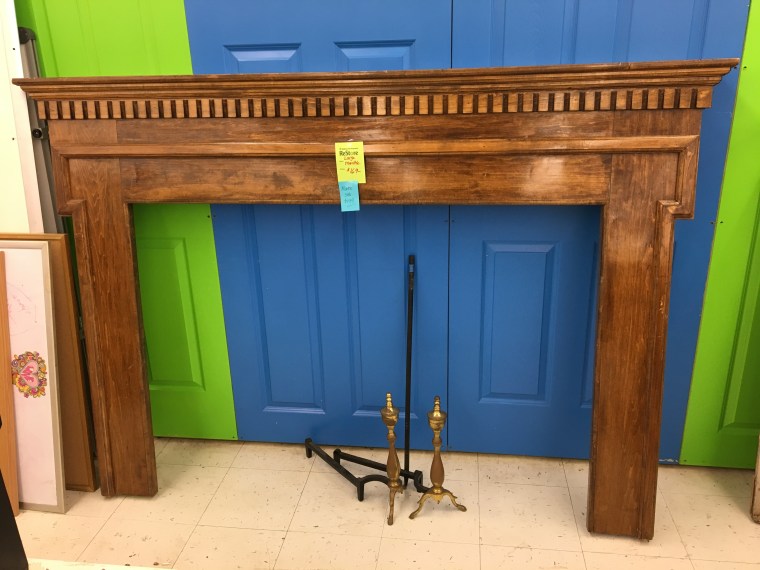
Hi friends! I’m back with another reveal today. When we first moved, I was at the Habitat for Humanity Restore and saw this amazing old mantle. I knew it was exactly what we needed to get the fireplace we wanted without adding a chimney (which clearly wasn’t an option!) So, here’s what happened.
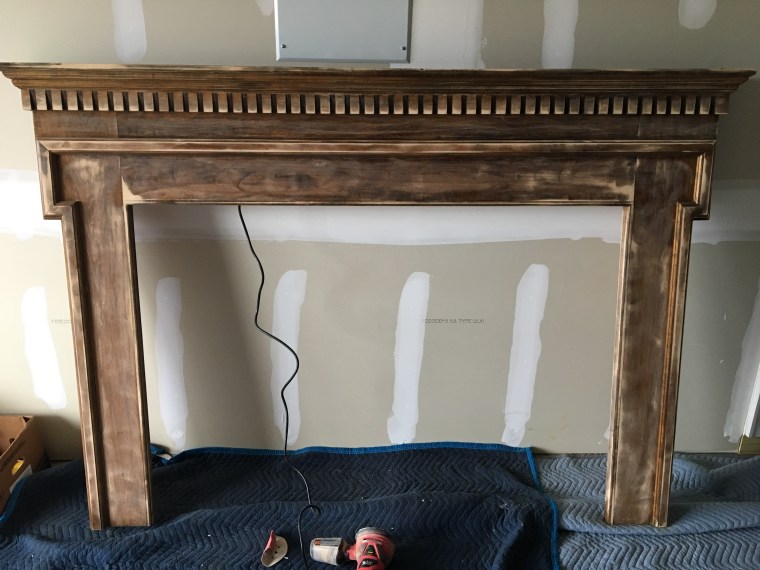
We started with this. It was in pretty decent condition and $149. However, we wanted it to match the rest of the trim in our house, so we sanded it and painted it Sherwin Williams Bright White in semi-gloss.
Then, we bought this electric fireplace online from The Home Depot, but you can also get it on Amazon. We chose this one because it has two different heat settings, but can also be on without producing heat. And, a bonus is the different colors it has.
After the mantle was sanded and painted (2.5 coats) we bought a board of plywood and affixed it to the back of the mantle. Then, we were able to apply the tile. We simply traced out (and tested) where we wanted the fireplace to be, and tiled around that space.
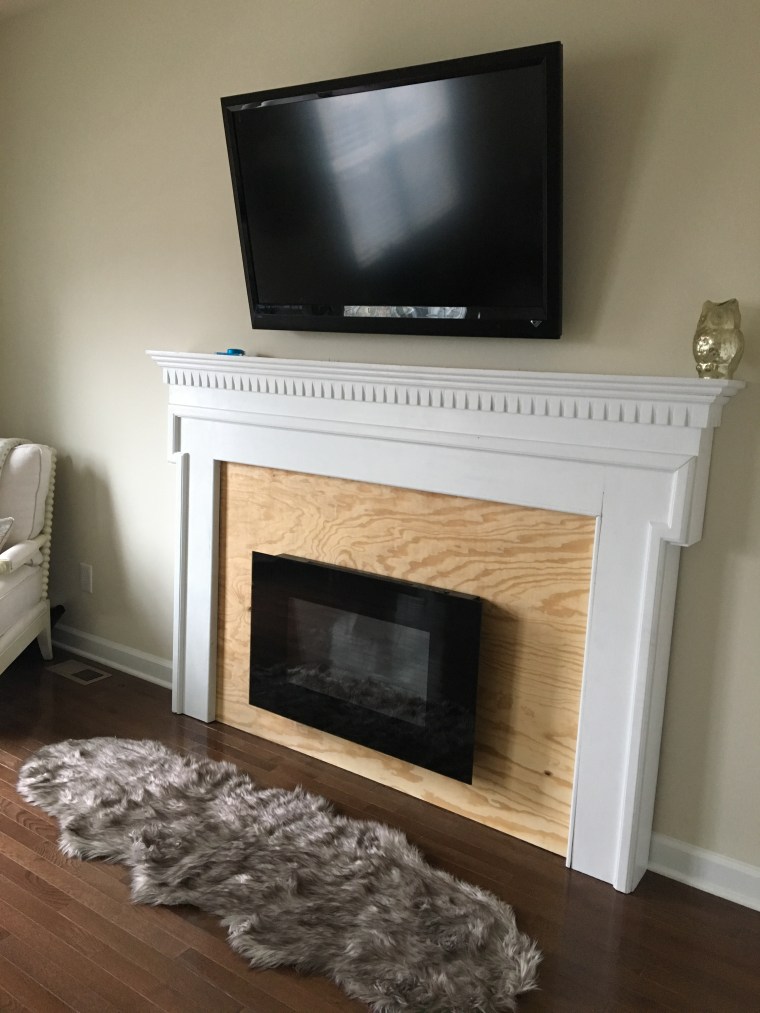
After tiling, we put up the bracket for the fireplace to the board, then put the fireplace on. This was super easy. We hid the cord behind the wood board, which is in front of an outlet. This pic was snapped on my iPhone when only part of the grout (upper right corner) had been applied. Love note is optional 😉

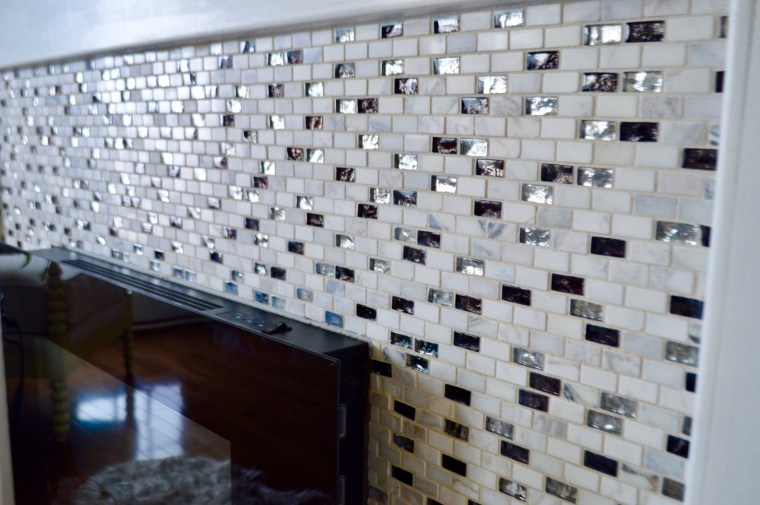
Here’s a closer look at the gorgeous tile after being grouted.
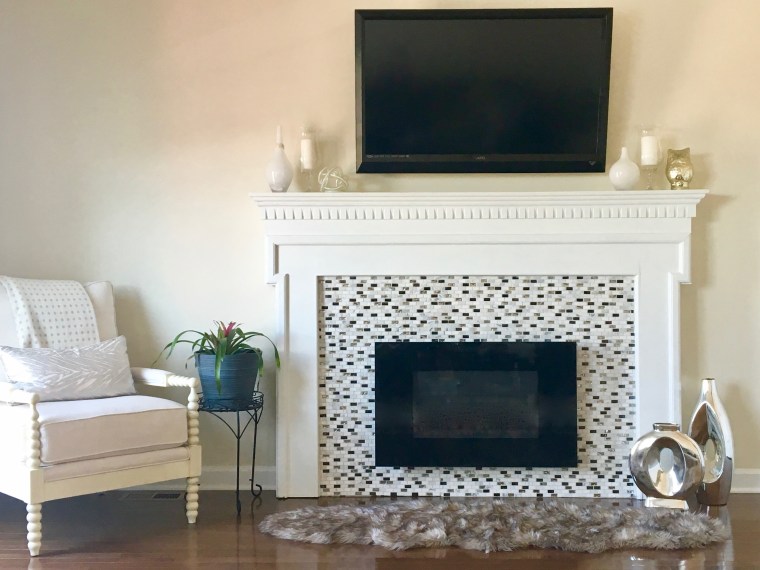
Here’s the finished product! I can’t stop staring at it. It looks so amazing lit up at night, but the tile sparkles during the day. This is the perfect way to add a fireplace to your home without all the hassle of a gas line, chimney, etc. Hope you love it!
And of course, a before and after shot:


It looks amazing!
LikeLike
Thank you!!!
LikeLiked by 1 person
Great looking. You guys did a great job.
LikeLike
Thank you!! I love that you’re such a loyal reader! 😊
LikeLike